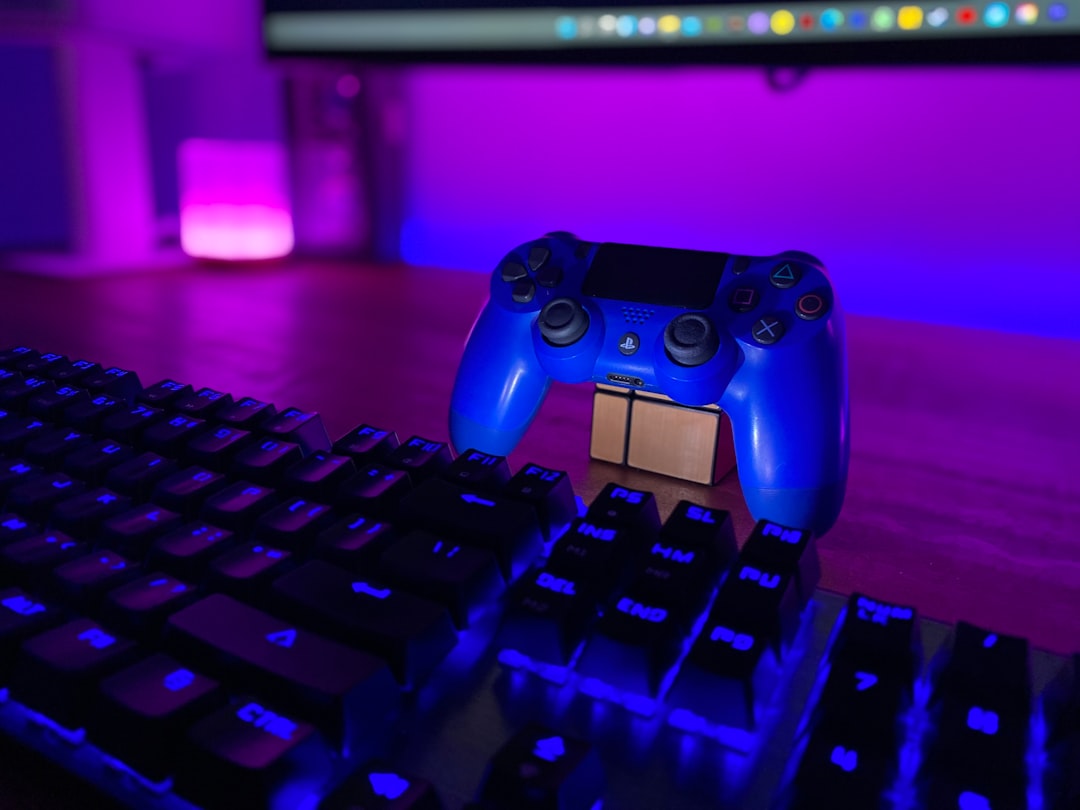
Use this reusable checklist to tune PC and console game settings for smoother frame rates, clearer images, and lower input delay without changing every option at random. The right balance depends on your display, hardware, game, and priorities, so begin with a stable baseline, change one setting at a time, and keep notes you can revisit after patches or hardware changes.
Overview
There is no single set of best settings for gaming. A competitive player may prefer a consistent frame rate and minimal latency, while a story-focused player may accept a lower frame rate to keep higher resolution, better shadows, or ray tracing. The goal is not to enable every quality option or reduce everything to its lowest value. It is to remove the settings that cause distracting stutter or delay while preserving the visual details you notice most.
Before adjusting a game, identify three limits: your display's refresh rate, your system's performance, and the game's own frame-rate behavior. On PC, check the game's system requirements and compare them with your processor, graphics card, memory, and storage. Our guide to reading PC game system requirements can help distinguish minimum requirements from a more comfortable target.
On console, start by checking whether the game offers a performance mode, quality or resolution mode, or a similar choice. Performance mode generally prioritizes a higher or steadier frame rate, while quality mode may prioritize resolution, lighting, effects, or draw distance. The names and available options vary by game, so treat the menu description as a starting point rather than a guarantee.
Checklist by scenario
For smoother PC gameplay
- Update carefully. Install a stable graphics driver and the game's latest patch when appropriate, but retest after each update. A driver or patch can change performance, shader compilation, or available options.
- Choose a sensible resolution. Use your display's native resolution when performance allows. If frame rates are too low, try resolution scaling or an upscaler before making large reductions to the output resolution. Test text, foliage, distant objects, and fast camera movement for distracting softness.
- Set a frame-rate target. A stable cap can feel better than a frame rate that fluctuates widely. Choose a target your system can hold during demanding scenes, not only in an empty area or opening tutorial.
- Use VRR when supported. Enable variable refresh rate on the display and in the relevant operating-system or driver settings, then confirm that the game recognizes it. If the image tears or the display behaves inconsistently, test the game's frame cap and synchronization options separately.
- Reduce expensive settings first. Lower ray tracing, volumetric effects, shadows, reflections, crowd density, and view distance one at a time. Texture quality is often more dependent on available graphics memory than raw frame rate, so it may be possible to keep textures high while reducing other effects.
- Review latency settings. Use the game's low-latency or reflex-style option if available, but compare responsiveness and stability after enabling it. Avoid stacking several synchronization methods without testing their interaction.
For a console performance setup
- Confirm the display path. Check the console output resolution, refresh-rate option, HDR behavior, and television or monitor game mode. A display's image-processing features can add delay even when the game itself is configured well.
- Start with performance mode. Use it when consistent movement, aiming, or camera control matters most. Switch to quality mode when visual detail is more important and the resulting frame rate feels acceptable.
- Enable VRR if both devices support it. Confirm compatibility in the console settings and display menu, then test a demanding area. VRR can make uneven performance less noticeable, but it cannot make a game exceed its hardware limit.
- Check motion blur and camera effects. Reduce or disable motion blur, film grain, chromatic aberration, and depth of field if they make movement look smeared or make aiming harder. Keep them enabled if you prefer the intended cinematic presentation.
- Test controller response. Use a wired controller connection as a troubleshooting comparison where supported, check for firmware updates, and review dead-zone or response-curve options inside the game. Do not reduce the dead zone so far that stick drift becomes visible.
For a visually demanding game
Make a baseline save or write down the original settings. Capture a repeatable test: the same busy area, combat sequence, race, or traversal route. Adjust resolution scaling, ray tracing, shadows, reflections, and volumetric quality before changing every option at once. If the game stutters while entering new areas, lowering texture quality may not solve the problem; storage, shader compilation, memory pressure, or the game's streaming behavior may be involved. For storage planning, see how to choose and manage gaming storage.
What to double-check
| Symptom | First checks | Useful next step |
|---|---|---|
| Low average FPS | Resolution scaling, ray tracing, shadows, reflections | Lower the most demanding option and set a realistic cap |
| Uneven or stuttering motion | Frame-time graph, shader compilation, background tasks, VRR | Use a stable cap and test a different synchronization setup |
| Screen tearing | VRR status, synchronization settings, frame cap | Confirm the display range and avoid conflicting caps |
| Blurry image | Output resolution, render scale, upscaler mode, motion blur | Restore native output and raise render scale before increasing effects |
| Delayed aiming or controls | Display game mode, wireless interference, controller dead zone | Compare wired and wireless input and remove unnecessary processing |
| Crashes or visual artifacts | Overclocking, driver state, temperature, corrupted files | Return to default clocks, verify files, and test conservative settings |
Measure more than the headline FPS number. Average frame rate can look acceptable while frame-time spikes make movement feel uneven. If available, use a frame-time overlay or built-in benchmark. Repeat the same test after each meaningful change and judge the result during actual gameplay, not only in a menu.
Accessibility options belong in the same checklist. Subtitles, high-contrast modes, color filters, camera shake controls, field-of-view adjustments, remappable controls, and aim assistance can improve comfort and clarity. Field of view may improve peripheral awareness, but increasing it can also reduce apparent detail or add a performance cost in some games. Choose the setting that supports your vision and play style.
Common mistakes
- Chasing the highest possible FPS. An unstable peak is less useful than a frame rate your system can sustain during busy scenes.
- Changing too many settings at once. You lose the ability to identify which option solved the problem or caused a new one.
- Assuming ultra is automatically better. The highest preset can spend performance on effects that are difficult to notice during play.
- Ignoring the display. A fast game mode, suitable refresh rate, and correctly configured VRR can matter as much as an in-game slider.
- Using an extreme dead zone. A small dead zone may feel responsive, but too little can expose stick drift; too much can make aiming sluggish.
- Confusing network lag with input lag. Delayed online actions may come from connection quality or server conditions rather than graphics settings. For broader online play setup, see our guide to cross-platform play, cross-save, and voice chat.
- Forgetting to retest after updates. Patches can reset settings, change performance, or introduce new options.
When to revisit
Return to this checklist whenever you install a major game, change your monitor or television, upgrade a graphics card or console, update a graphics driver, install a game patch, or notice new stutter or input delay. Revisit it before a competitive season or long play session if consistency matters.
Keep a short record of your working setup: output resolution, frame-rate cap, VRR status, performance or quality mode, upscaler choice, controller connection, and the one or two settings you lowered first. After an update, compare the same test area with those notes. If performance improves, restore one visual setting at a time. If it worsens, return to the last stable profile rather than guessing.
The practical order is simple: confirm the display, establish a repeatable baseline, set a sustainable frame-rate target, enable VRR when compatible, reduce the most expensive effects, and then fine-tune image quality and controls. That process will not make every game perform identically, but it gives you a dependable way to find the best balance for your PC or console.